
Can I just start this post with a massive GRRRR......... yes, that's the sound of frustration you hear coming through your computer.
You see, it's like this, a move to a new house (which is a lovely basement flat, must admit) means that the lovely and constant natural light I had in the old flat has gone. This of course leaves me to dash outside at any slightest sign of sun (which as winter approaches, is proving to be a bit of a mission).
So in my quest to recreate a studio setting outside, I have tried various white backgrounds - the first of which was trying to repaint a piece of black plastic, white (yes, you know the paint used to outline crime scenes, that's the one we used) - naturally that did not work.
Which left me with some fabric - I thought I was being very clever by purchasing some white blackout fabric, but unbeknownst to me, it creases. Terribly!
And this is the studio - lovely if it would actually have worked.

And here is the creased background......which clearly doesn't work.
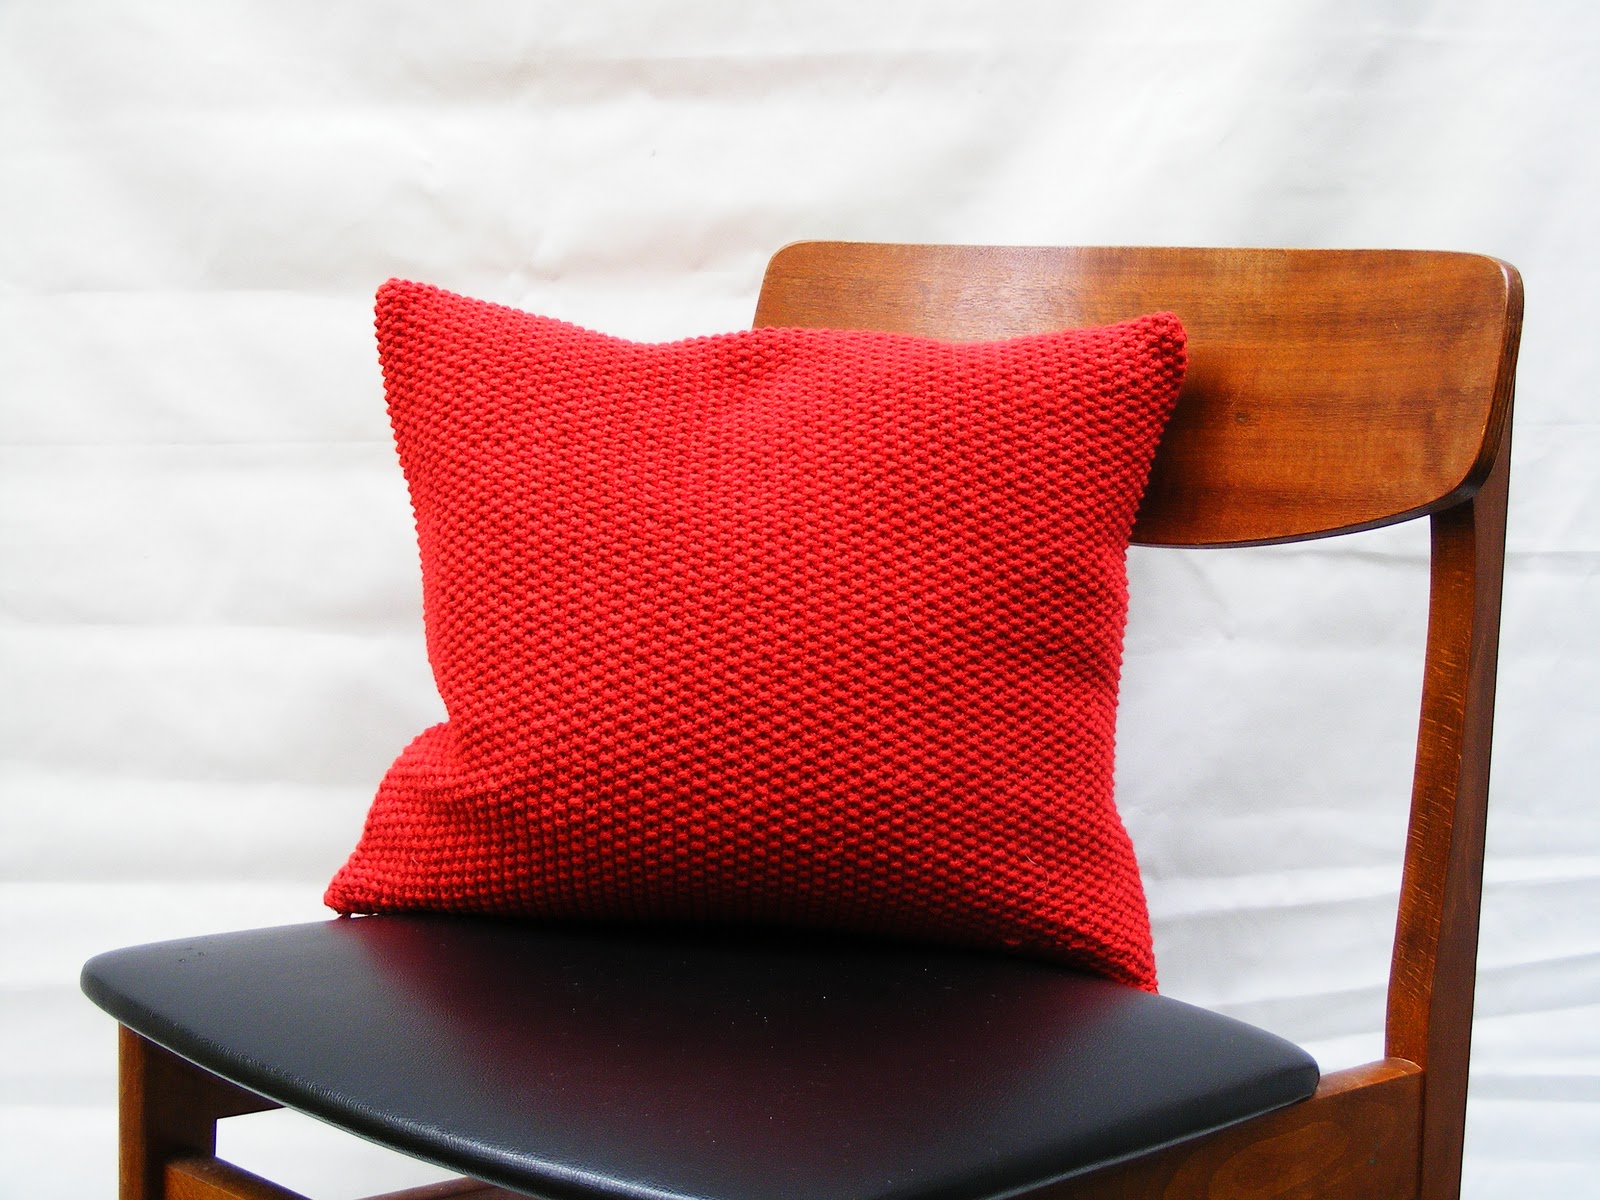
So, what I'm trying to say, is if you have product shots to take, don't even bother with clever white blackout fabric - does.not.work!
1 comment:
hehe - glad to see i'm not the only one with product photography woes..... trying hard to avoid photoshop because i find it such a chore, hence the determination. one idea someone had.....white wallpaper....think i'm going to give that a try.
Post a Comment